PSC 40 Foot Boxcar: Difference between revisions
(→Frame) |
(→Frame) |
||
| Line 6: | Line 6: | ||
<gallery widths="300px" heights="300px" rowsper="2"> | <gallery widths="300px" heights="300px" rowsper="2"> | ||
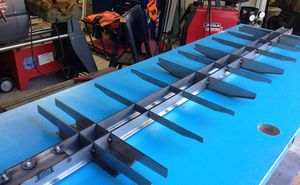
File:DougBlodgett PSC Boxcar 2.jpg|Decided to start on the Precision Steel Car boxcar today and just finished tacking up the frame. Next up will be installing about 1100 "decorative" rivets in the side panels for the box. That should be good for the arthritis in my hands. | |||
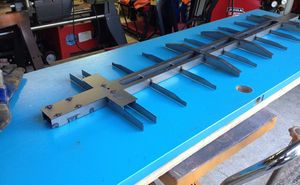
File:DougBlodgett PSC Boxcar 1.jpg|Rick White white commented: From the looks of this, the way it is set up now will work for [[Mountain Car Company|MCC]] trucks. Have to add a plate of 3/8 inch thickness for [[Tom Bee|Thomas Bee trucks]]. If you want brakes, make sure the plate is only 7.15 inches long. Longer and it can hit the brake shoes. Also, minimum length determined by the truck design. | File:DougBlodgett PSC Boxcar 1.jpg|Rick White white commented: From the looks of this, the way it is set up now will work for [[Mountain Car Company|MCC]] trucks. Have to add a plate of 3/8 inch thickness for [[Tom Bee|Thomas Bee trucks]]. If you want brakes, make sure the plate is only 7.15 inches long. Longer and it can hit the brake shoes. Also, minimum length determined by the truck design. | ||
</gallery> | </gallery> | ||
Revision as of 19:56, 1 January 2016
Doug Blodgett of Houston Area Live Steamers shared his experience building a pair of Precision Steel Car 40 foot boxcar kits.
Frame
Rick White white commented: From the looks of this, the way it is set up now will work for MCC trucks. Have to add a plate of 3/8 inch thickness for Thomas Bee trucks. If you want brakes, make sure the plate is only 7.15 inches long. Longer and it can hit the brake shoes. Also, minimum length determined by the truck design.
Sides
Riveting
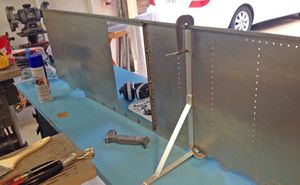
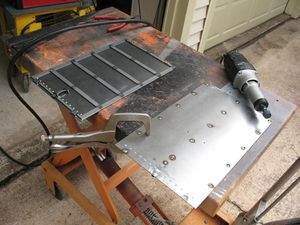
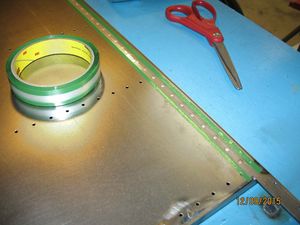
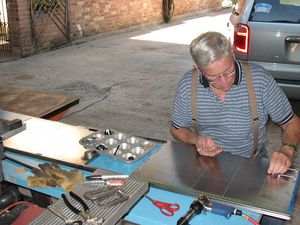
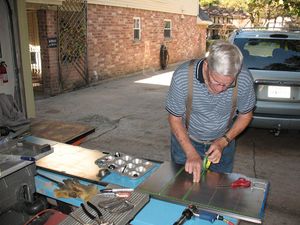
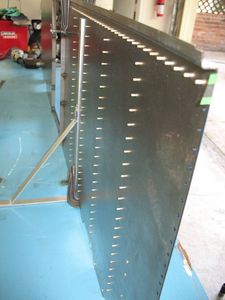
My rivet tape arrived today. With about 1100 rivets to install on this PSC boxcar, I decided to try some rivet tape to speed things up. It "works a treat" as my British friends would say. Here are a couple of photos showing how it works. Basically it lets you pre-install the rivets, cover them with a special tape, and then rivet them at one sitting without having to stop each time to install another one.
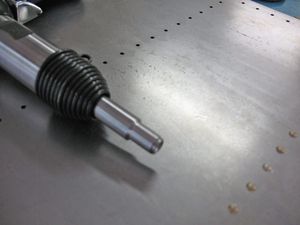
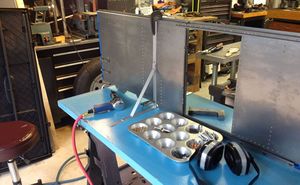
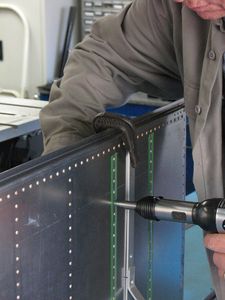
Here you can see that the rivet set goes right over the tape when bucking. Tape is peeled off each row as it is finished. Using the tape makes the process go incredibly fast with a lot less effort. I got the tape from Aircraft Tool Supply Company.
