Charles Field Track Panel Jig: Difference between revisions
| Line 15: | Line 15: | ||
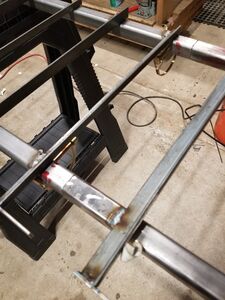
File:CharlesField TrackJig FillWelds.jpg|The Support Joints have been fill-welded to the support beams. | File:CharlesField TrackJig FillWelds.jpg|The Support Joints have been fill-welded to the support beams. | ||
File:CharlesField TrackJig RetentionPin.jpg|Retention Pin holds the two sections of the the track jig together. | File:CharlesField TrackJig RetentionPin.jpg|Retention Pin holds the two sections of the the track jig together. | ||
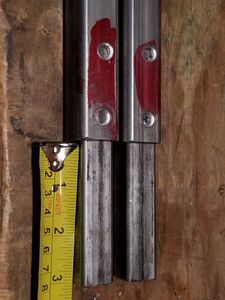
File:Rocky Mountain Rails track jig joint.jpg|Tie stops welded to support beams. | |||
File:Rocky Mount Rails track jig added support to tie stop.jpg|Charles added a small support brace for the tie retention bar. | File:Rocky Mount Rails track jig added support to tie stop.jpg|Charles added a small support brace for the tie retention bar. | ||
File:Rocky Mountain Rails finish track panel jig.jpg|Completed track panel jig. | File:Rocky Mountain Rails finish track panel jig.jpg|Completed track panel jig. | ||
File:Rocky Mountain Rails club Track Panel Jig with results July 2020.jpg|Track jig with several completed track panels. | File:Rocky Mountain Rails club Track Panel Jig with results July 2020.jpg|Track jig with several completed track panels. | ||
File:Rocky Mountain Rails | File:Rocky Mountain Rails Track Panel Jig disassembled ready for storage.jpg|A key feature of the track jig is that it can be easily disassembled and stored. | ||
</gallery> | </gallery> | ||
Revision as of 11:39, 26 August 2020
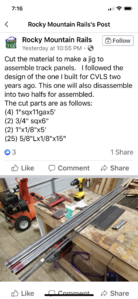
In March, 2020, Charles Field posted on Facebook about a Track Panel Jig that he built. This was the second one of these jigs he constructed. It is light weight and disassembles into two parts for easy storage. It will work for constructing both straight and curved track panels of 10 foot length.
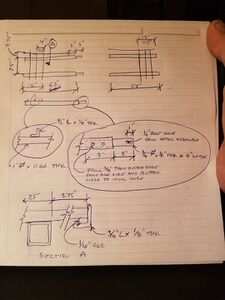
This article presents Charles' original drawings and photos, along with a version modified for "Texas Standard Tie Spacing".
The Original
Support Joint members in place prior to fill welding.

The Support Joints have been fill-welded to the support beams.
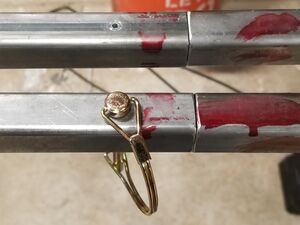
Retention Pin holds the two sections of the the track jig together.
Tie stops welded to support beams.
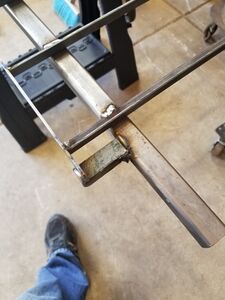
Charles added a small support brace for the tie retention bar.
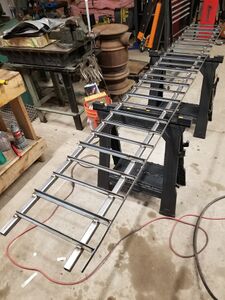
Completed track panel jig.
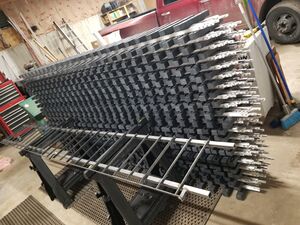
Track jig with several completed track panels.
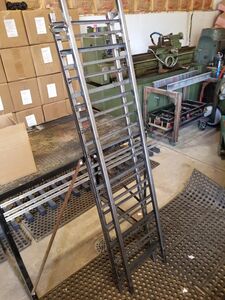
A key feature of the track jig is that it can be easily disassembled and stored.


