Building a Kitsap Caboose: Difference between revisions
Jump to navigation
Jump to search
No edit summary |
No edit summary |
||
| Line 10: | Line 10: | ||
File:Kitasp Live Steamers Caboose 3.jpg|Top view of floor plats showing "stitch" welds. | File:Kitasp Live Steamers Caboose 3.jpg|Top view of floor plats showing "stitch" welds. | ||
File:Kitsap Live Steamers Caboose 4.jpg|Bottom view of the floor shows stitch welds. These welds were made using a red Lincoln "tombstone" welder (seen under the table) with 1/8 inch 6011 rods. You must be very careful to prevent warpage during welding, even with this thicker material. By careful I mean make short stitch welds (1/4 inch) and allow to cool between welds (10-15 seconds). Use lots of C-clamps to hold materials tightly together during welding. | File:Kitsap Live Steamers Caboose 4.jpg|Bottom view of the floor shows stitch welds. These welds were made using a red Lincoln "tombstone" welder (seen under the table) with 1/8 inch 6011 rods. You must be very careful to prevent warpage during welding, even with this thicker material. By careful I mean make short stitch welds (1/4 inch) and allow to cool between welds (10-15 seconds). Use lots of C-clamps to hold materials tightly together during welding. | ||
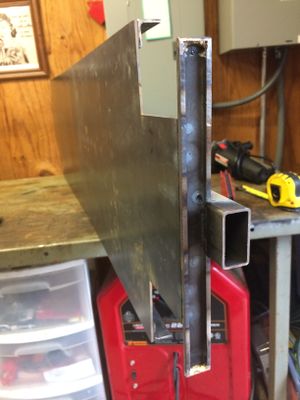
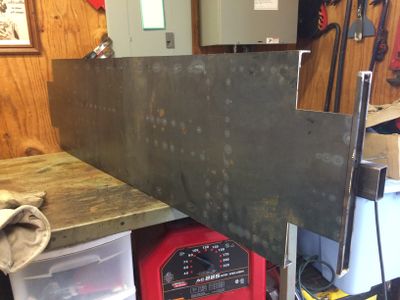
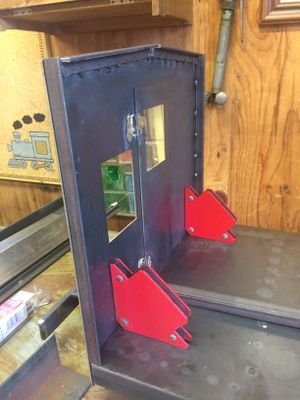
File:Kitsap Live Steamers Caboose 5.jpg|Angle iron has been stitched onto the end wall, which is now positioned for test fitting. I used small brass hinges for the doors, and brazed them to the steel. In retrospect I wish I had used rivets. | |||
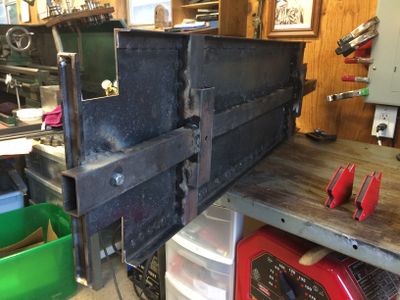
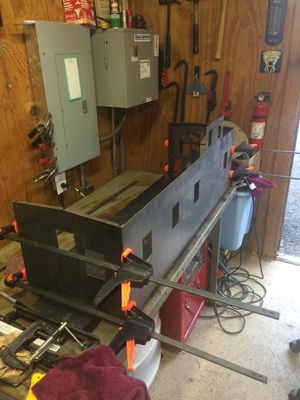
File:Kitsap Live Steamers Caboose 6.jpg|Preparing for welding the four sides together. The clamps are from Harbor Freight, and were made for wood projects, but I found they worked quite well for this project (and I already had them). | |||
</gallery> | </gallery> | ||
Revision as of 22:07, 16 June 2015
Build Gallery
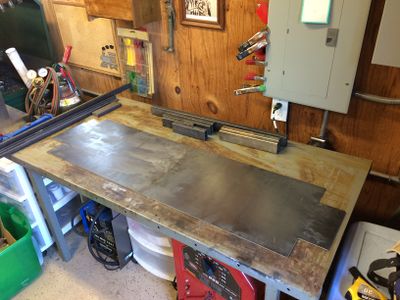
Laying out the base and other parts for the Kitsap Live Steamers caboose kit. Photo by Daris A Nevil, April 2015.
Bottom view of the floor shows stitch welds. These welds were made using a red Lincoln "tombstone" welder (seen under the table) with 1/8 inch 6011 rods. You must be very careful to prevent warpage during welding, even with this thicker material. By careful I mean make short stitch welds (1/4 inch) and allow to cool between welds (10-15 seconds). Use lots of C-clamps to hold materials tightly together during welding.
